Monday, 8 March 2010
Learning outcomes
Well where do i begin on the learning outcomes? A good start would be definatley in the software. Maya was something I used to be really uncomfortable with but now I find myself on it for fun creating and modelling anything I want to. Also in terms of the animating, Lighting, compositing and spacial awareness within it. I have learnt a lot more about churches also and more importantly the pleasure of working within a team. I enjoyed the project and wish that as a late edition that I could of done more for the group. Also I learnt the importance of group communication and problem solving. I would like to thank my group for taking me on and also to Jarred and Mike for allowing me back on the course. I am a lot more confident now and feel a lot better with working with people aswell as on my own.
Finishing project
Ok now we came to the stage of finishing. We had a the futuristic church scene rendered and looking great. We experienced problems with the rendering by losing time on it. This was due a problem with a team members software who didnt inform anyone else therefore causing us to lose a night of rendering and setting us back. We simply had a bit of a lack in terms of communication which had this knock on effect. With it being the last day it was now too late to begin rendering and therefore after speaking to our tutor we were advised to have the first scene of the old church as a playblast combined with the rendered scene of the futuristic church. This obviously made it not up to the set standard which we had hoped for but our intentions were clear. We had a deadline and had to stick to it. In my opinion the group worked well together to start with. I think that as the deadline drew closer and the pressure on certain members were not performing at their best and if we had a little more time then the project would have been better completed. However hindsight is a valuable thing and something to learn from. We all are in full agreement that next term we will not let ourselves relax and we will be on people cases if they arent performing as we ccan now see just how important it is that everyone does their job according and stick to the time limit as best they can. Also not to take on or hand out a job that is beyond peoples knowledge or capabilities. We will in future rely on people for their strong points and make sure that we all keep up a group consistancy. Also we have learnt the value of communication and just how important that is.
The flame effect
Creating the flame
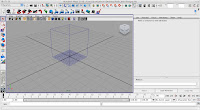
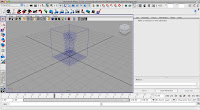
Hello now I will explain the flame effect. This was quite a complicated task but one which i learnt a lot from. I had to crete the flame as a fluid effect within the box which I the had to re-scale. I also arranged the colors and tweaked it to get a thicker flame with less smoke which was what we wanted. In the Maya view its not much to look at but when its fully rendered we can see that the effect is very realistic. When I had completed this task the group were pleased to include it in the first scene of out footage.
Problems with lighting
Ok so the lighting was taking its time and with it running out dramatically fast myself and Deepa decided to not light the church with anything other than the lights provided by the chandeliers and candles which were around the inside. This meant that we now had to focus on creatiing a flame effect and duplicating it around the church. Luckily I had found a great tutorial which helped me to both understand and perform this task.
Lighting continued
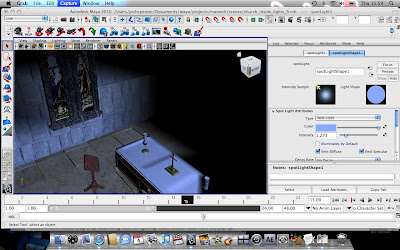
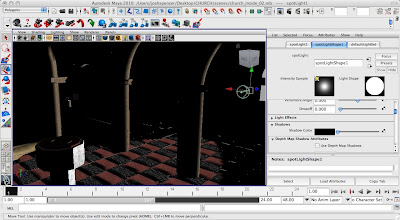
Well looking at the lighting it was definately better to use spot lights and low area lights as they got the effect we needed. We were struggling at this point in time and the time schedule was not running out quickly bearing in mind that we still had to rigg the scenes after the animation. The scene for the new church was done by this point so we had to focus our attention on the old church.
New task Lighting
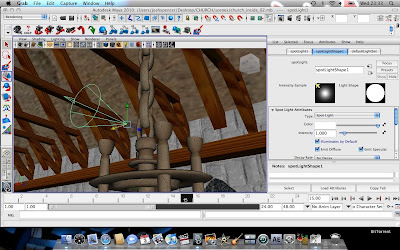
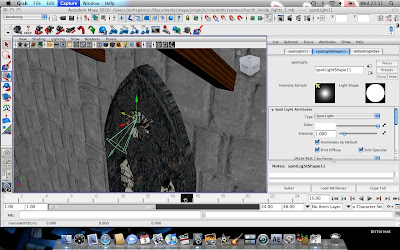
Hello again. Well now that the modelling was completed and everybody was away and happily texturing it was time to help out with the lighting process of the old church. This to me was like learning a new language as I hadnt yet come across it. I looked at various online tutorials and books provided to me by deepa. We decided to do the lighting together as it was challenging to both of us. The original idea was to look at what kind of effect we wanted and play about with the different lights provided by maya until we get it as we want.
Reflection so far


Looking at all the modelling so far I have done i am pleased with myself and the knowledge I have acquired during the process. I have had assistance by other members on the team to start with but then was confident and capable enough to go off on my own and get things done. I am pleased with being able to contribute to the group and also that my work was of a good enough standard to be accepted by them with no changes being made. Myself and Deepa worked on the designing and modelling whilst Guy and Nathan worked on the texturing. Stephen has worked both in modelling and compositing aswell and although time was now running short we have all kept to our jobs quite well and I have enjoyed the whole process so far. Below we will see how my chandeliers look when they are duplicated and composited.
Starting the modelling of the chandelier


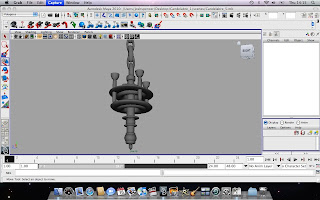
Now its time to show you my modelling stage in Maya of the chandelier. i relied a lot on the polygon pre set shapes such as the rings and tubes and again was a case of combining them together. I didnt want the chandelier to be too straight and blocky so I also used circular shapes and cut the faces to get a semi circle ti hold the candles.
New task Chandelier
With the oragn and pods well away and sent to Nathan for modelling it was time to move on in our project to any other interior feature that needed to be completed. The team leader then gave me the task of modelling the chandeliers. These were gong to be used for the old church and provide the lighting and there was not much time to get these completed on our already tight schedule.
Final Touches to organ
Modelling the Organ


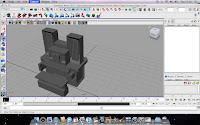
After looking at research for the organ it was clear to me that there was a generic shape and arrangement of most church organs being quite clear. The first thing I noticed was that the seat was attached to the organ and the keys similar to a piano. I begun to take this knowledge and use in in my modelling in Maya. As we can see I started with a basic square shape and re-scaled it and then extrude it to get the shape I needed.
Looking at organ designs


Although there isnt much time to get things done as a late edition to the group it is still important that I looked at research in designs and made sure that I kept my work both relevant and realistic to what needed to be produced. Above shows some of the Organs which I looked at to give me ideas for my modelling.
Organ
Ok well now its time to continue modelling. So far after creating the pods my knowledge and confidence in the use of Maya has greatly improved I feel more than capable to continue in whatever the group needs to have modelled. Looking at the project the thing I needed to bear in mind was the fact that we were modelling for both the 13th century and the futuristic church at the same time and it was important not to focus on one more than the other. The next task given to me by our group leader was to produce an organ for the old church which would be up to me to be modelled to the best of my abilities.
Friday, 5 March 2010
Modelling Pod in Maya


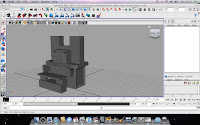
Here is the beggining screen grabs of the modelling process for my pods. I created its basic outline shape and extruded it to add a thickness to it. Another part of my design that had to be included was the footrest which added to the comfort. I created it as a seperate object and now was time to combine them. I made sure that i detailed the outside shape as cllose to the design as possible. I had to cut out the faces on the original shape to create an open pod for room to allow feet to rest outwards as seen above
Final design for pod
This is my final design for my pod. Now it is time to create this as best I can using Maya in oreder too hand it over to Nathan to texture.
Subscribe to:
Posts (Atom)

